Chasing the Milky Way: How I Finally Captured the Shot of My Dreams
- Jana Marcus

- Aug 23, 2025
- 4 min read
Updated: Aug 23, 2025
Photographing the night sky has been a quiet passion of mine for years. Through trial and error, I managed to capture striking images of the moon and even the Blood Moon Lunar Eclipse. But one subject always remained at the very top of my bucket list: the Milky Way.
My First Attempts at Milky Way Photography
It all started in 2013, when I was rather restless on a vacation to Maui. Every night at 2 a.m., I slipped out to the beach with my camera, determined to finally capture the Milky Way. Night after night, it eluded me.
Like many beginners, I struggled with planning apps like PhotoPills. I watched tutorials, and spent hours trying to figure out how to “plan” where the Milk Way was going to be and when, but I was doing something wrong.
When I attempted the recommended long exposures, my photos always looked like they were shot at high noon, even though it was taken in the middle of the night. This really confused me. Shooting the moon is much easier—although surrounded by black sky, the moon is actually much brighter than you think and the exposure time is short (see my blog on shooting the night sky). Eventually, I gave up on my Milky Way dream.
The Breakthrough: How I Finally Captured the Milky Way
Flash forward to August of 2025, my friend and fellow photographer Patrick Jagger offered to take me out to shoot the Milky Way. Patrick is known for his stunning landscapes, and he knew exactly when and where to go.
This time, everything lined up:
Best time to photograph the Milky Way — the moon was waning toward new, leaving the sky beautifully dark.
Milky Way season — it was the tail end of the viewing window in California (March to September).
Foreground planning — Patrick had scouted a striking location that would align with the Milk Way.
I practiced my Milky Way camera settings in my backyard the night before. It turns out my previous long exposures had been so bright before because they were picking-up all the light pollution, even in what seemed a dark urban area. Once we were in a really dark location – the long exposures work. And for the first time, PhotoPills actually started to make sense to me (well sort of).
The Magic of the Night Sky
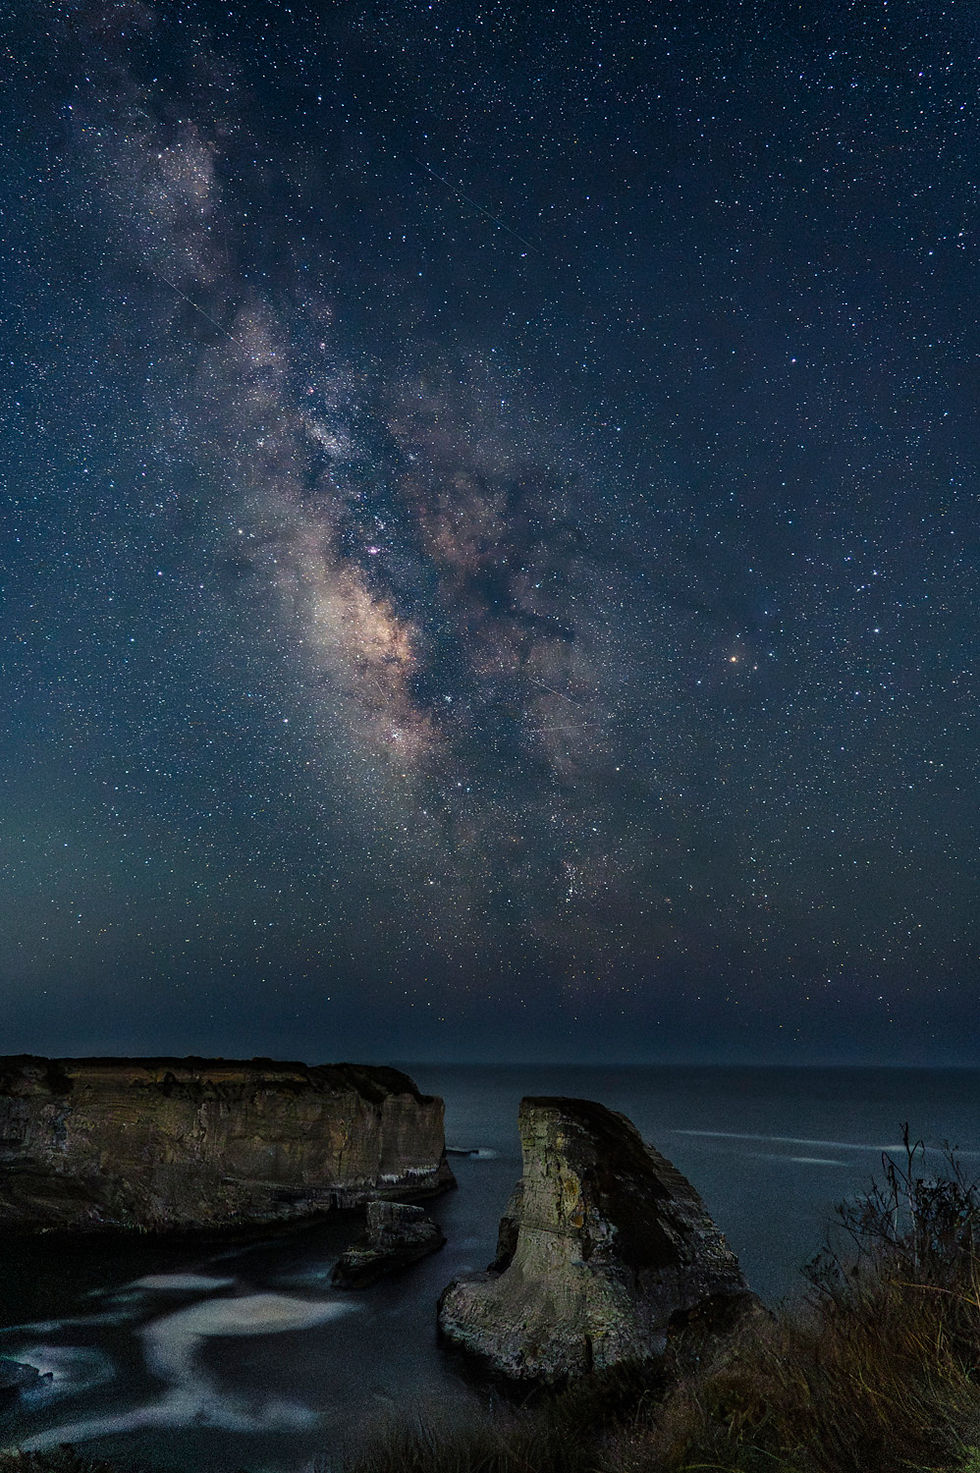
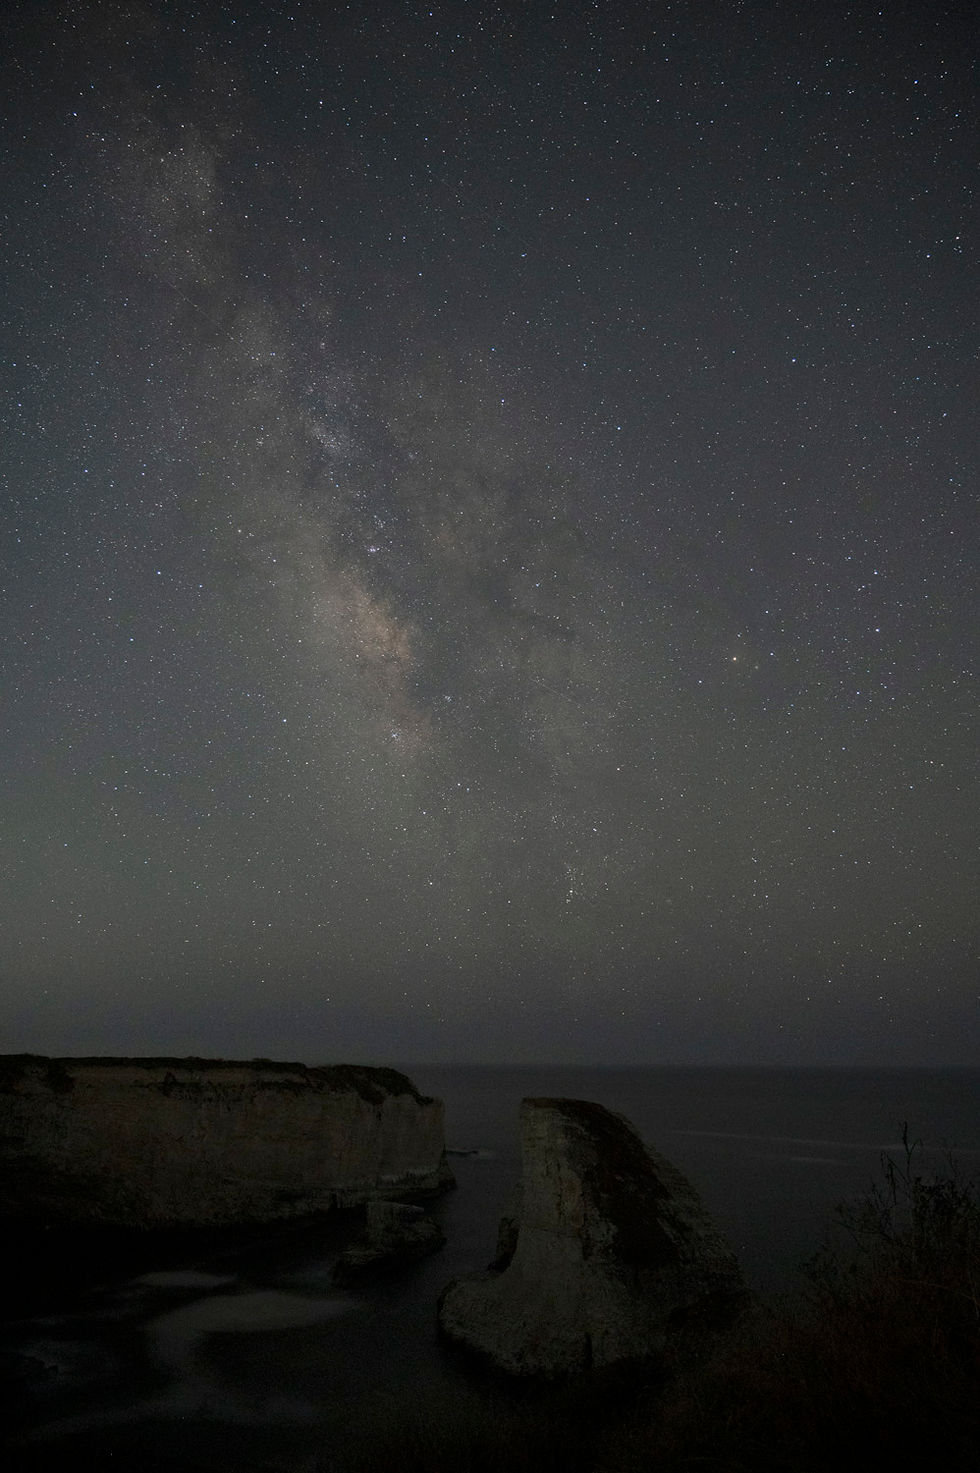
On August 20, we headed to Shark Fin Cove in Davenport, CA., racing against the clock to catch blue hour. As Patrick explained, this short window of light — just after sunset — is perfect for photographing your foreground before the sky turns black.
With our tripods steady, we captured the foreground, then waited for the Milky Way core to rise. And then, finally — the Milky Way revealed itself.
I can hardly describe the awe of standing beneath a sky filled with such bright stars, watching the Milky Way core rise above the horizon. It’s humbling, otherworldly, and worth every failed attempt. And yes, you can see the Milky Way with the naked eye if your location is dark enough.
MilkywayTips for Beginners
Looking back, here are the biggest lessons I learned from this shoot that can help anyone just starting out with beginner astrophotography:
1. Timing is key – Aim for a new moon or a waning crescent to get the darkest skies.
2. Find a dark sky location – Light pollution can completely wash out the Milky Way.
3. Plan your foreground – Interesting landscapes or structures make your star shots more compelling.
4. Shoot during blue hour – Capture the foreground while there’s still a hint of light.
Things to Know
1. Be sure to use Manual mode for both the camera settings and the focus.
2. A tripod is your best friend
3. Use a wide angle lens (24mm or smaller)
4. Shoot in RAW mode for maximum detail
5. Bring a flash light with a red filter or gel (so you can see in the dark, but not disturb your eyes or other photographers who may be shooting)
6. Dial in your Milky Way camera settings –
In manual focus mode, focus on the brightest star or infinity.
Set your camera for a 2-second delay after the shutter release to avoid camera shake.
Many photogs do interval shooting to stack their images – which gives more colors and details. For my first attempt I just did single shots.
Long exposures usually range between 8– 13 seconds. Anything higher may cause star trails.
Open your lens to the widest aperture—f2.8 or lower. If your lens’ widest aperture is f4, you may have to push your ISO a bit more.
Start with an ISO of 1250 and go from there to get the exposure you want (I’ll share exact settings I used below).
7. Enjoy the moment – Don’t forget to look up and soak it in — the photo is only part of the experience.
My Milky Way photo settings
Here’s what I did — so you can try it yourself
I shot my image with a Nikon Z6ii mirrorless camera
Lens: 24-70mm zoom, set to 24mm.
Exposure: 13 Secs at f4, ISO 6400
Other camera settings:
- Timer set to 2-second delay before shutter is released
- High iso noise reduction
- White balance set to 4200
- Focus peaking on
- Manual focus checked on rear screen “Live view”
Post-processing in Lightroom Classic
- Denoise filter
- Small adjustments to highlights, shadows, contrast and exposure
- Masked the sky to adjust color, saturation, and increase whites
- Use minimal dehazing/clarity
Final Thoughts
That night at Shark Fin Cove, a dream nearly 12 years in the making finally came true. What started as failed late-night attempts in Maui ended with the most magical view of the Milky Way I could have imagined.
Till next time, keep looking up. ✨

Comments