Shooting the Night Sky
- Jana Marcus

- Feb 6, 2018
- 2 min read
Updated: Apr 3

Practice makes perfect when it comes to taking night photography - specifically the night sky.
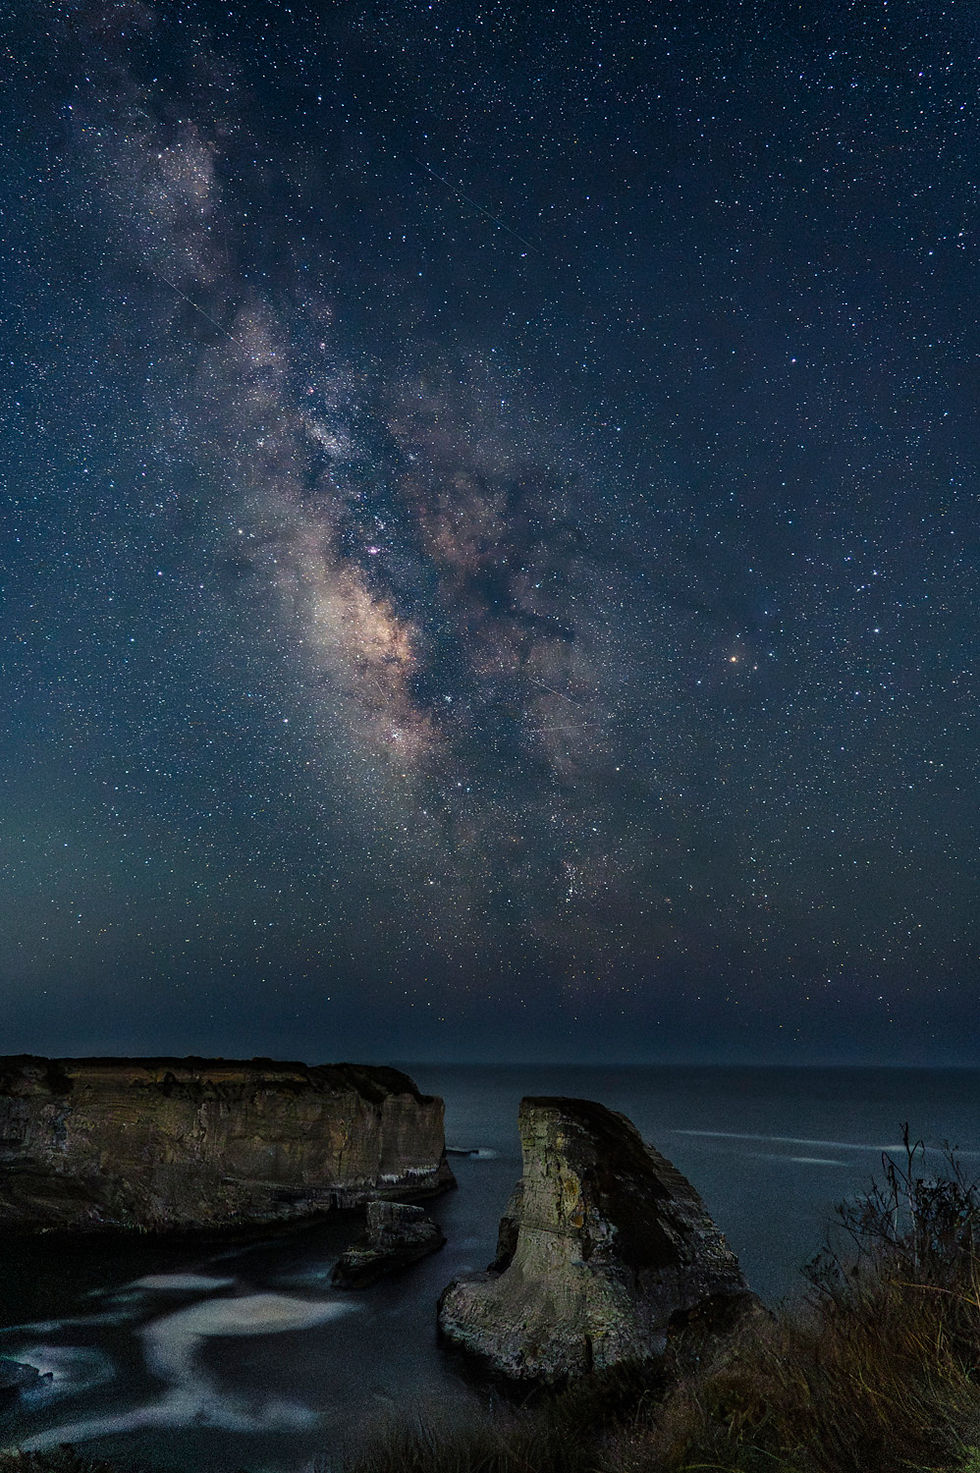
I found myself sleepless on a trip to Maui in 2016, and decided to take advantage of my energy and go outside – be it 3 AM. The stars were incredible and I was determined to find the milkway and learn to take some celestial images over the next week.
I downloaded a lot of fancy apps on my phone to help me out – PhotoPills, Starwalk, Magic Hour – but could never figure out how to read them correctly to find the horizon line or which way was north. Photo Pills was especially complicated.
I didn’t think to bring anything but my camera on the trip, so the next day I traveled 20 minutes to the only camera store and bought a cheap tripod. That night, again at 3 AM, I went out to the beach to take photos of the stars. My first photos were pretty bad. I captured lots of stars and I could see the milkway starting to rise…but I needed a dehaze filter to get it - even in post.
After a lot of trial and error, here’s what I learned:
Put your camera into manual focus mode and set it on infinity.
Set noise reduction to high
Use a wide-angle lens with f2 – F4
Keep your ISO as low as possible 400 – 800 – 1000 max.
If you don’t have a cable release with you (which I didn’t), set your auto timer to 2 or 3 seconds. This allows for releasing the shutter once you have moved away from the camera, so there is no additional camera shake.
Shoot raw in manual mode.
The moon is actually extremely bright, you never really need an exposure more than 1/125 f8, at about 800 ISO on a full or partial moon. Consider using “spot”metering mode, because you don’t want to expose for all the dark sky, just the moon.
When it comes to shooting stars it’s a different story. The longer your exposure the more light reaches the sensor and the more stars you will pick-up. As long as your exposure is within the 15-25 second range, you want pick-up star trails. Longer exposures will get you the star trails if you want them. And an exposure of 3 to 4 minutes will get you the circular motion of the stars as the earth moves.
Sky pictures are nice, but having something in the foreground gives a sense of space and depth. To expose both the stars and the foreground you could do a couple things: A double exposure or paint the foreground with light during the exposure (flashlight or something bright).
My attempts in Maui were not great, but I learned a lot, and by the time the Lunar Eclipse came around on January 31, 2018, I felt confidant I'd get a good shot. My double exposure above was 1.3 seconds, f6.3, 1000 ISO.
The milkway is still my goal. I’ll figure out that PhotoPills app sooner or later! Hope you found some of this helpful. Have more tips? Leave them here!

Comments